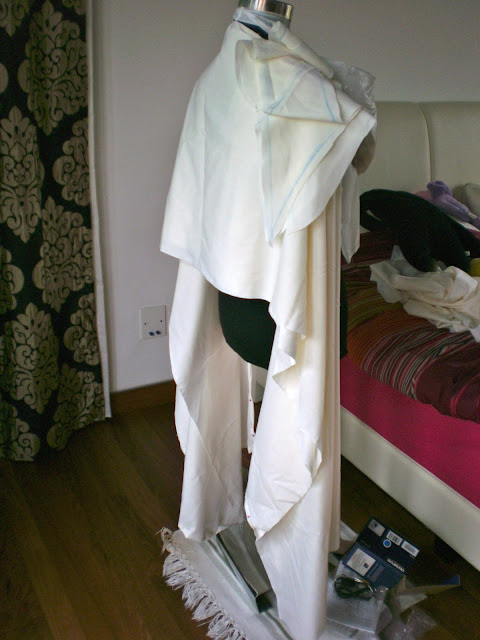
In my series of blog posts I will be jumping straight into the final piece and its process as I find that if I were to introduce my coursework from an absolute scratch I would only be repeating myself for a third time, and frankly speaking, it can get boring. So instead I have decided to document the process in the making of the garments.
Before I could sew anything, I started by cutting out all the cloth patterns according to intricate and precise calculations and measurements, and it also gave me a rough and clearer idea of which piece should be paired with which, and the way I planned it was in a visual manner as shown above where I drew out diagrams and labelled them with the measurements, ensuring that each connection between the cloth pieces would be practical and feasible. I did not just jump straight into cutting the cloth as I knew I could not make mistakes in doing so and it would be virtually irreversible.
One thing that came in handy to avoid the mistake of cutting the wrong pattern would be the use of chalk, and especially for symmetrical patterns which are predominant in my design, I could simply fold the cloth over and give the chalked line a press and it would be "photocopied"as a slightly fainter line over onto another portion of the cloth and this ensured that the design would stay symmetrical, especially with the extensive use of curvatures in my design which would be frustrating to replicate from scratch.
Certainly, the use of a measuring tape was useful, if not essential.
Also to ensure that the zip fit for this particular top, I also took out the actual zip to measure against the lines where I would be sewing the zip on.
By the end of the day, I finally managed to cut out all the patterns, and they were ready for sewing, which I would proceed with the next day! This was all except for one of the patterns for my second design as some of the pieces and position of the curvature depended on the other element, which I would have to sew together before crafting the piece to complement it.
Lastly, I also tried to cut a little of the workload for the next day by pinning as much as I could for sewing. However my collection of pins only allowed for the pinning of one skirt as this skirt had many slits that I had cut along the edge so that they could be folded in to be sewed and tapered in, and also because of the large surface area...


No comments:
Post a Comment